
“Nearly 60% of DIY paint jobs require expensive touch-ups or complete re-dos due to avoidable mistakes.” If you think picking up a brush and a can of paint means guaranteed success, think again! Many homeowners unknowingly sabotage their own efforts and end up with streaky, peeling walls or costly repaints. In this eye-opening guide, we'll break down exactly what most people get wrong and how you can sidestep these pitfalls with expert-approved home painting tips. Stick around—you might just save yourself days of frustration and hundreds of dollars!
A Shocking Truth About Home Painting Tips: What Most Homeowners Miss
Most homeowners dive into painting projects believing a fresh coat will instantly transform a room. However, many overlook the crucial foundation beneath that shiny new color: proper prep, product choice, and technique. Even a high-quality paint can’t hide rough patches, poor adhesion, or streaks caused by ignoring simple, professional home painting tips. The truth is, those paint streaks you see or the peeling sections that appear months later are rarely the fault of the paint itself—they’re usually the result of overlooked steps and misunderstood instructions.
From using the wrong roller cover on textured walls, skipping bonding primer, or neglecting a wet edge when rolling, the list of common mistakes is long—and expensive to fix. Whether you’re selecting a new paint color or prepping for a finish coat, understanding the right home painting tips means you can avoid costly re-dos and achieve beautiful results that truly last. Let’s uncover the practical tips and inside secrets that even experienced DIYers sometimes miss!
“Nearly 60% of DIY paint jobs require expensive touch-ups or complete re-dos due to avoidable mistakes.”
What You’ll Learn From These Home Painting Tips
- How to avoid the most common painting mistakes
- Techniques for achieving a professional finish with home painting tips
- Which tools and products to use for quality paint results
- Step-by-step guidance for proper application and preparation
- Expert advice on using a wet edge and understanding based paint options

The Ultimate List: 10 Home Painting Tips to Prevent Expensive Mistakes
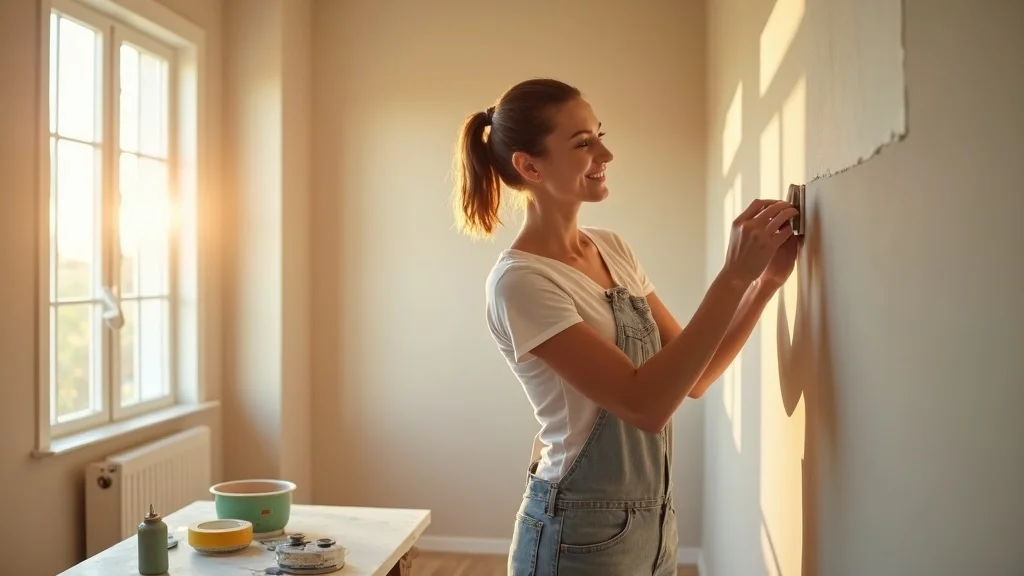
1. Never Neglect Surface Preparation in Home Painting Tips
- Why thorough cleaning and repair are vital in home painting tips
- Based paint adherence and the risks of skipping prep
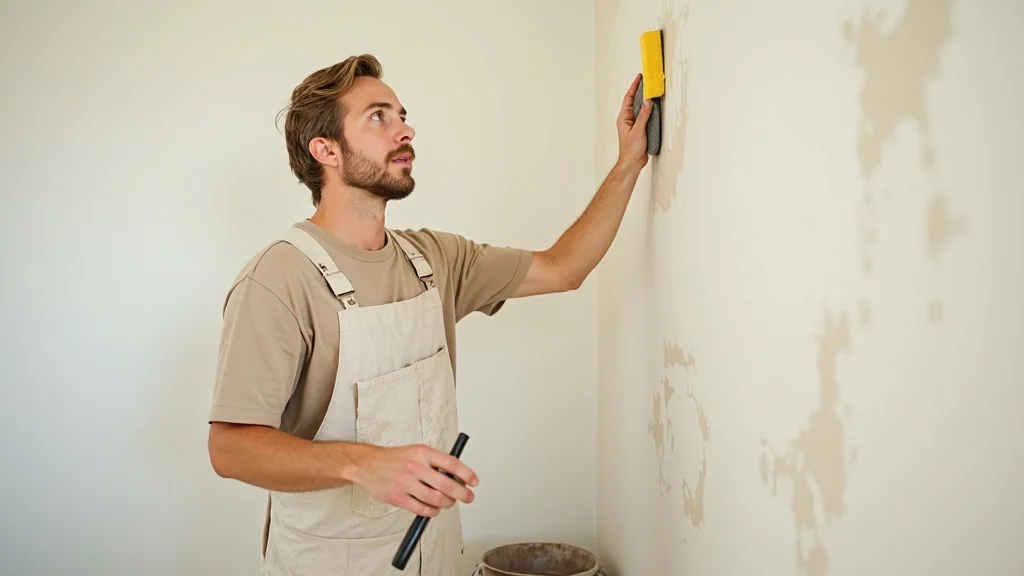
Surface preparation is the #1 secret behind every successful paint job. Experienced pros recognize that prep can actually take longer than painting itself. Before you dip a brush or roller in quality paint, be sure to meticulously clean, patch, and sand all surfaces. Use a mild soap or cleaner and a sponge or cotton ball to remove dust, oils, and old marks. This step is critical for both based paint and latex paint to adhere properly and avoid peeling. Skipping this stage leads to patchy, uneven coats and can cause paint from hard-to-reach spots to flake off within months. If you’re painting over wood trim or stained walls, use a bonding primer to maximize paint adhesion and eliminate the risk of peeling.
Remember to remove or cover switches, fixtures, and lay down drop cloths to protect floors. Sand rough areas and fill holes using lightweight spackle; stubborn stains may require targeted cleaning or sealing. Well-prepped surfaces hold primer and finish coats better, giving your project a flawless, professional look that outlasts shortcuts. Investing extra time up front will dramatically reduce extra paint costs and frustration later!
2. Always Use Quality Paint for Long-Lasting Results
- How quality paint pays off over time
- Comparing price vs. performance in home painting tips
While budget paints can look tempting, investing in a quality paint ensures long-lasting color, better texture, and fewer touch-ups. Higher quality paints generally provide better coverage and a more durable, higher sheen finish coat. They’re formulated with superior binders and pigments, meaning fewer coats per paint job and easier touch-ups in the future. The price tag may be higher, but the difference in performance outpaces the cost—especially on demanding surfaces like wood trim or high-traffic areas.
When evaluating paint brands, look beyond marketing. Check online reviews on sites like Imageworks Painting, ask for sample brushes, and compare how paint color and finish resist scuffs, fading, or peeling. Quality paints spread evenly with less effort, adhere better after prep and priming, and ultimately save both time and money in future painting projects. Whether you choose latex or oil-based, don’t skimp; your finish coat will thank you for years.
"Quality paint may cost more up front, but can save homeowners hundreds on frequent repaints." — Professional Painter

3. Keep A Wet Edge to Avoid Streaks and Marks
- Understanding the wet edge technique in home painting tips
- Common errors when maintaining a wet edge
If you’ve ever seen visible lines or “lap marks” on a painted wall, chances are a wet edge was not maintained. The wet edge technique means that each stroke or roller pass overlaps the previous one before it dries. This allows the paint to blend seamlessly for a streak-free finish. Failing to follow this essential tip often results in the dreaded uneven sheen, especially when using a roller cover for walls and ceilings.
To maintain a wet edge, work in manageable sections and never pause in the middle of a wall. When painting with a nap roller, avoid letting one area dry while you’re still working on an adjacent section. Re-load your brush or roller regularly and blend your strokes. This tip is crucial for both oil- and water-based paints, as each has unique drying times. Consistent attention to your wet edge delivers a finish coat worthy of a professional—and saves you from aggravating re-dos.
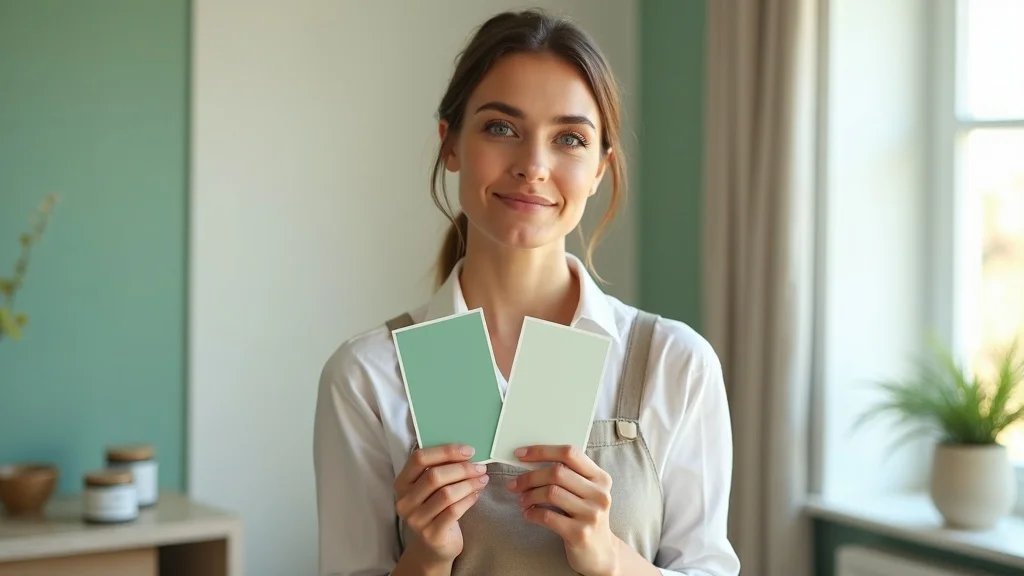
4. Choose the Right Based Paint for Each Room
- Differences between oil- and water-based paints
- When to use each type in home painting tips
Not all rooms or surfaces are created equal, and neither are paints. Choosing between oil-based and water-based paint depends on the room’s function and the surface to be covered. For kitchens and bathrooms, where moisture and humidity are common, oil-based paints (also known as alkyd) deliver a higher sheen and superior durability. They're ideal for wood trim and surfaces exposed to regular wear. But for walls and ceilings, modern latex paint or acrylic-based paint is often the best option—offering easy cleanup, low odor, and quick drying.
Always check labels for best use cases and drying times. For instance, water-based paints are better for living rooms and bedrooms, while oil-based is great for cabinetry. Don’t forget: using the wrong based paint can result in poor adhesion, bubbling, or chipping over time. Seek guidance from local paint pros or reliable resources like Imageworks Painting before making your selection, especially for high-traffic or specialty areas.
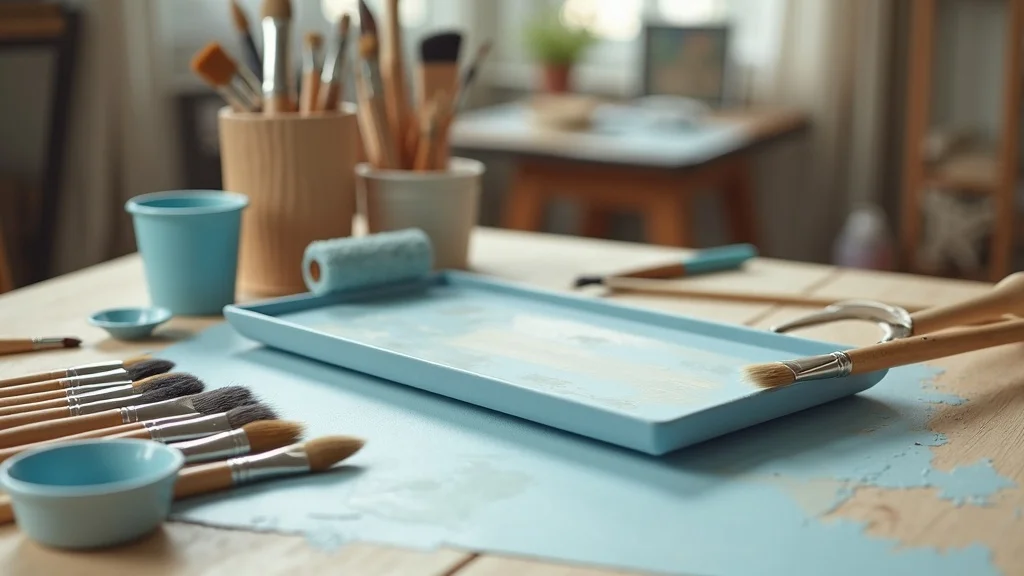
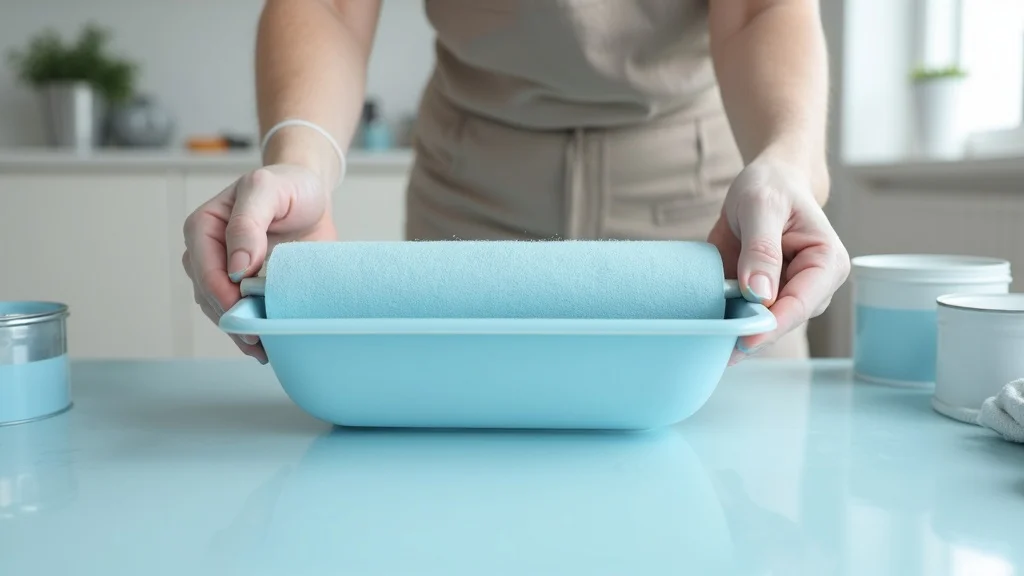
5. Invest in Quality Brushes and Rollers for Best Home Painting Tips
- How poor tools sabotage quality paint application
- Caring for your painting tools for longevity
Your tools are just as important as your paint. A high-quality brush or nap roller cover will help you distribute the paint smoothly and evenly, minimizing streaks and roller marks. Cheaper tools tend to shed bristles or create an uneven finish coat, leading to a less professional paint job. Invest in an assortment of premium brushes (angled for edges, flat for large spaces) and roller covers suited for your wall texture—a longer nap roller holds more paint for rough surfaces, while a short nap is best for smooth walls.
After use, wash brushes and rollers promptly with water for latex paint or the recommended solvent for oil-based paints. Storing them in airtight containers or wrapped in plastic between coats can prolong their life. Good maintenance not only saves you money on replacement tools but also ensures flawless results in every painting project. Remember, your choice of tools can make or break the beauty and longevity of your home’s painted surfaces!
6. Don’t Skip Priming: A Core Home Painting Tips Principle
- Why primer is essential for based paint and quality paint adhesion
- When and where to prime
Priming is a crucial step often skipped by rushed DIYers. But primers play a major role in creating a strong bond between the surface and your topcoat, especially on patched walls, bare drywall, or wood trim. Using a bonding primer ensures paint adhesion and evens out surface porosity for a true paint color after the finish coat is applied. For hard-to-cover stains or color changes (especially with chalk paint), a primer will prevent bleed-through and discoloration.
You should always prime after heavy patching, when painting over dark or glossy surfaces, or when switching between paint types (such as oil to latex). Don’t forget that skipping primer can cause your paint job to peel, streak, or require additional paint—ballooning your project’s time and budget. For a durable, professional look, priming is a step you can’t afford to miss!
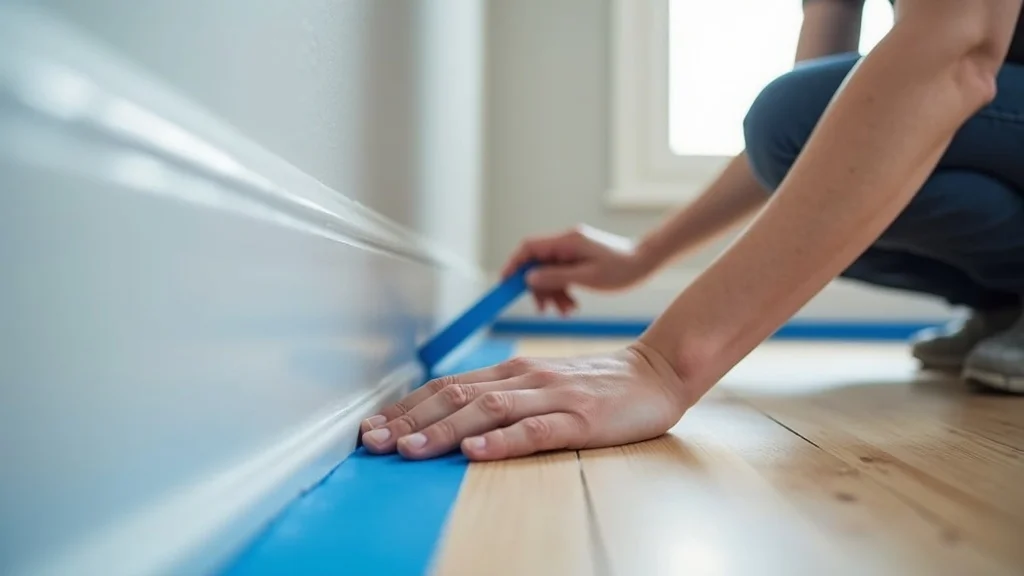
7. Proper Tape Application: Clean Lines in Every Home Painting Project
- How to use painter’s tape for a perfect wet edge
- Tips for preventing paint bleeding
There’s nothing more satisfying than a crisp, straight line between a wall and ceiling or along baseboards. This is where painter’s tape shines. Ensure you apply painter’s tape with firm pressure to prevent bleeding; a cotton ball run along the edge can help seal it further. Always remove the tape while the paint is still slightly wet to maintain clean lines and avoid lifting dried paint from hard surfaces.
Choose blue or green painter’s tape rated for the length of your project; never use ordinary masking tape, which can tear or leave residue. Taping off wood trim, light switches, and windows is a pro strategy that distinguishes flawless paint jobs from amateur attempts. This attention to detail is what turns a basic DIY project into a showcase-worthy painting project that stands up to scrutiny.
8. Don’t Overload Your Brush or Roller
- Correct techniques for even distribution of quality paint
- Avoiding drips and roller marks in home painting tips
Loading up your roller or brush with too much paint can lead to disastrous drips, sags, and roller marks. Instead, dip your tool about a third of the way into the paint; tap off excess against the tray or bucket. For roller covers, always roll off extra paint on the tray’s ridges to ensure even distribution. Overloading wastes quality paints and creates an uneven finish coat that’s prone to peeling and chipping.
When using a nap roller, start in a “W” or “M” pattern to distribute the paint, then fill in the gaps using light, even strokes. If you see stubborn streaks or globs, stop and redistribute the paint with your brush or roller before continuing. This home painting tip is simple, but it makes a world of difference in achieving that smooth, professional wall or ceiling appearance.
9. Mind Your Drying Times When Following Home Painting Tips
- Why patience saves time and money
- Understanding manufacturer recommendations for based paint and finish types
One of the most overlooked home painting tips is honoring proper drying times between coats. Impatience can ruin an otherwise flawless job: layers that are applied too quickly won't adhere, leading to bubbling, streaks, and possible paint removal during tape pulling. Always consult the paint manufacturer’s instructions for drying and curing times—these differ between water-based and oil-based paints, humidity levels, and finish coat types (including higher sheen or chalk paint).
Allow ample ventilation using fans and open windows. This not only speeds up drying but also ensures a safer workspace and reduces lingering paint fumes. For the very best results, don’t rush to apply that next coat—even the highest quality paint or paint spray system can’t compensate for ignored drying times. Your patience now will reward you with a stronger, more beautiful finish for years to come.
10. Ventilation and Safety: Overlooked Home Painting Tips
- The impact of proper airflow on drying and indoor air quality
- Using PPE and handling based paint safely
Never start a painting project without planning for ventilation and safety, especially when working with based paint that may release stronger fumes. Open windows and set up fans to promote airflow—this will not only speed drying but also protect your indoor air quality. Using personal protective equipment (PPE) like masks, gloves, and eyewear is crucial, especially when sanding, using a paint sprayer, or working in tight spaces.
Strong solvents and fumes from oil-based or alkyd paints require extra caution and diligent use of PPE. Always store paint and supplies away from children and pets, and dispose of unused paint, cotton balls, and drop cloths responsibly. Safer working habits mean you can enjoy your beautiful, freshly painted room without health worries!
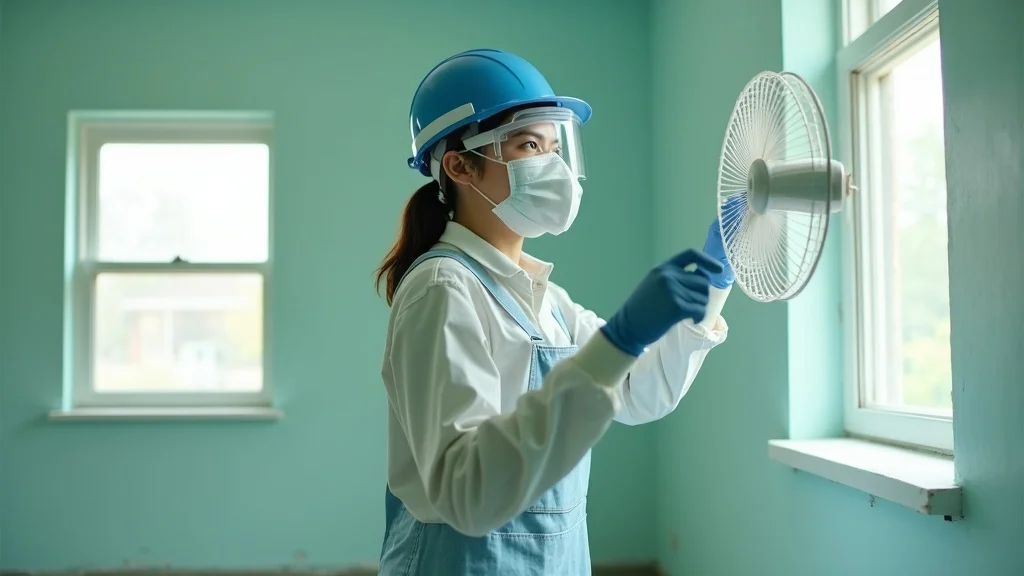
Table: Comparison of Based Paint Types for Home Painting Tips
| Type | Description | Best Use | Drying Time | Durability |
|---|---|---|---|---|
| Oil-Based | Traditional alkyd resin; offers higher sheen and hard finish | Trim, cabinets, kitchens, bathrooms, high-traffic areas | 6–8 hours to touch; 24 hours to recoat | Very high; withstands scrubbing and moisture |
| Water-Based (Latex) | Acrylic resins; low odor, quick drying, easy cleanup | Walls, ceilings, general interior rooms | 1–2 hours to touch; 4 hours to recoat | Good; resists yellowing and mild scuffs |
| Chalk Paint | Ultra-matte, highly adhesive; easy to distress for vintage look | Furniture, feature walls, crafts, upcycled projects | 30–60 minutes to touch; requires sealing topcoat | Moderate; needs wax/sealer for best wear |
People Also Ask: Common Questions About Home Painting Tips
What is the 80/20 rule in painting?
The 80/20 rule in painting means that 80% of your results stem from 20% of your efforts—primarily surface preparation. This classic principle highlights the importance of activities like taping, patching, and sanding. When you invest most of your time in prepping walls with a cotton ball, drop cloth, and bonding primer, you’ll find the actual painting goes smoothly, and the final result looks professional. Skimping on prep can double or triple your painting workload down the road!
What is the correct way to paint a house?
Start by thoroughly cleaning all surfaces and repairing any damage. Apply a suitable primer, choosing water-based for general walls or oil-based for trim or high-humidity areas. Use painter’s tape for crisp edges and protect floors with drop cloths. Paint from top to bottom—ceilings, then walls, then trim—with a quality nap roller or brush, always maintaining a wet edge. Allow sufficient drying times between coats, and ventilate well throughout the project. Finish by removing tape promptly and performing final touch-ups.
How do I get a perfect line between my wall and ceiling?
Achieving a flawless line between wall and ceiling requires patience and the right tools. First, use painter’s tape rated for delicate surfaces and press it down firmly with a cotton ball. Apply your ceiling color first and let it dry thoroughly. Then, tape off the ceiling just above the wall to be painted, overlap slightly, and paint the wall color. Remove the tape before the paint sets to avoid peeling, and use an angled brush for precision in tight corners or along wood trim.
Can I just paint over existing paint?
You can often paint over existing paint if the surface is in good condition—smooth, clean, and free of flaking or peeling. For glossy or oil-based surfaces, lightly sanding and priming with a bonding primer ensures better paint adhesion. When switching between paint types (like oil to latex), proper prep, cleaning with a cotton ball, and priming prevents compatibility problems and ensures your finish coat doesn’t peel or chip prematurely.
Watch this step-by-step walkthrough covering every phase of a home painting project—surface prep, priming, taping, brushing, rolling, drying, and more. See how to avoid the most common mistakes and apply these expert home painting tips for a flawless finish!
Expert Quotes on Home Painting Tips
"Investing in surface prep and quality paint will always reward homeowners in beauty and longevity." — Painting Contractor
Frequently Asked Questions on Home Painting Tips
- How many coats of based paint should I apply?
- What's the best type of quality paint for bathrooms?
- Can you mix different brands when using home painting tips?
How many coats of based paint should I apply? Generally, two coats of paint are standard for most projects—this ensures true color and full coverage, especially after priming. For drastic color changes or challenging surfaces, an extra coat may be needed.
What's the best type of quality paint for bathrooms? Choose a water-resistant, high-sheen latex or acrylic-based paint labeled for kitchens and baths. These formulas resist mold and are easier to clean, standing up well to humidity and frequent cleaning.
Can you mix different brands when using home painting tips? While you should avoid mixing brands within the same coat, you can use different brands for primer, base, and top coats—just ensure they are compatible (oil with oil, water with water). When in doubt, stick to one manufacturer’s system for best results.
Key Takeaways: Avoiding Expensive Home Painting Tips Mistakes
- Preparation and quality paint are the foundations of successful home painting tips
- Always select the right based paint for the surface
- Maintain a wet edge and follow manufacturer directions for best results
See real-world home painting tips applied by pros and DIYers alike, with commentary on what to do—and what to avoid—for a picture-perfect paint job!
Ready for a Flawless Paint Job? Visit us @ www.ocalapaintingpros.com/ for Expert Home Painting Tips
Don’t let another paint project turn into a costly mistake. Trust the pros for guidance, products, and tips that truly make a difference. Visit our site, ask your questions, and let’s help you paint with confidence!
Conclusion
Apply these essential home painting tips for results you'll be proud to show off. Preparation, quality methods, and the right products are your best tools for avoiding expensive mistakes and ensuring beautiful, lasting walls.


Write A Comment