

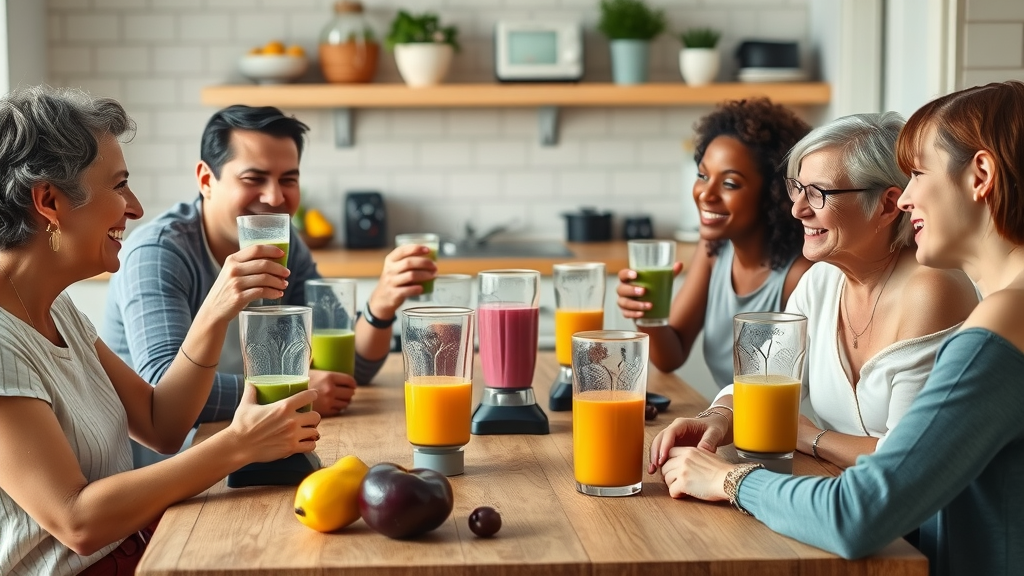
Did you know that 7 out of 10 smoothie enthusiasts regret their first blender purchase due to inadequate blending power or difficult clean-up? Starting your morning with a smooth, vibrant drink should be simple, not a source of daily frustration. Yet, with the world of smoothie blenders brimming with options and technical jargon, it's easy to get lost. Whether you crave silky green smoothies or a quick protein shake, choosing the best smoothie blender is the secret to hassle-free blending and tastier, more satisfying results. Let’s unlock the secrets together, so you can finally stop guessing and enjoy smoothies the way you want.
Discover the Facts: Why Choosing the Best Smoothie Blender Matters
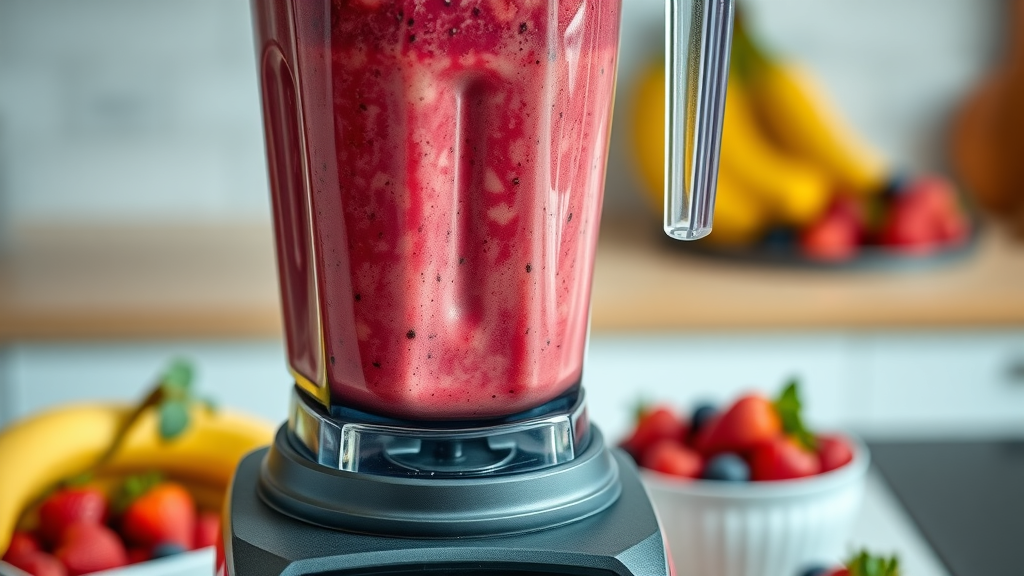
The blender you choose shapes the quality, consistency, and flavor of every smoothie you make. A top pick blender transforms chunky sips into creamy, smooth smoothies, liberates flavors from frozen fruit, and slashes prep time so you can dash out the door with a wholesome drink. However, not all smoothie blenders are created equal. Many first-time buyers end up with blenders that can’t crush ice, leave leafy greens stringy, or frustrate with fiddly clean-up routines.
Making an informed choice isn’t about picking the most expensive model; it’s about understanding how each feature—from personal blender convenience to stainless steel blades—fits your specific needs. Do you make small batch morning smoothies, or blend large pitchers for family brunches? Are you a fan of thick smoothies with nut butter, or do you keep things light and fruity? With thoughtful selection, you get great job results from your blender every time—no more guessing, and maximum flavor in every serving.

“Did you know that 7 out of 10 smoothie enthusiasts regret their first blender purchase due to inadequate blending power or difficult clean-up?”
What You'll Learn About Choosing the Best Smoothie Blender
- Key criteria for choosing the best smoothie blender
- Comparisons between personal blenders and traditional blender models
- The impact of blender wattage, blade material, and design on smoothie quality
- Expert insights and user reviews of top blender picks
- Tips to match the right blender to your smoothie habits
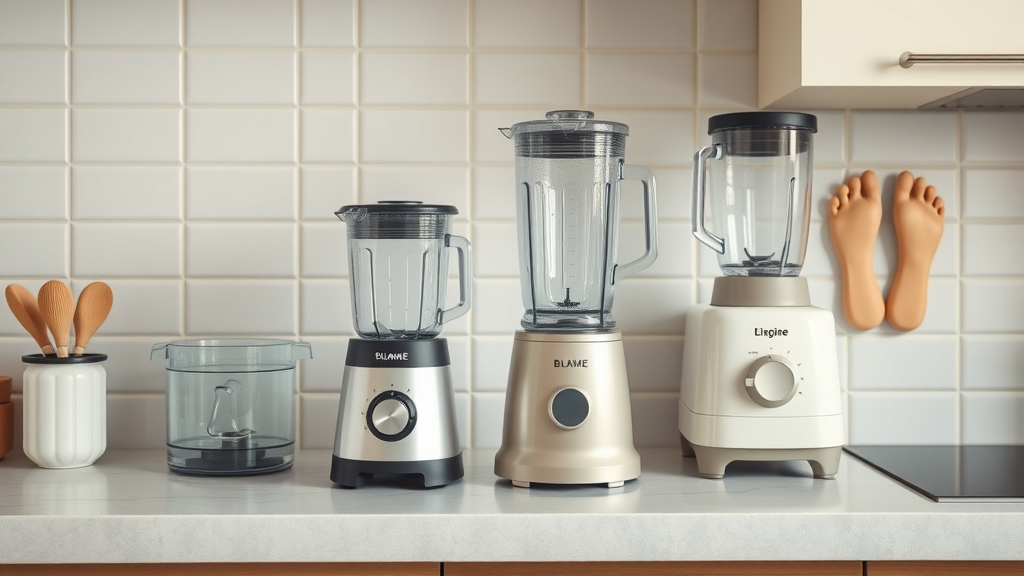
Understanding Your Options: Personal Blender, Table Blender, and More
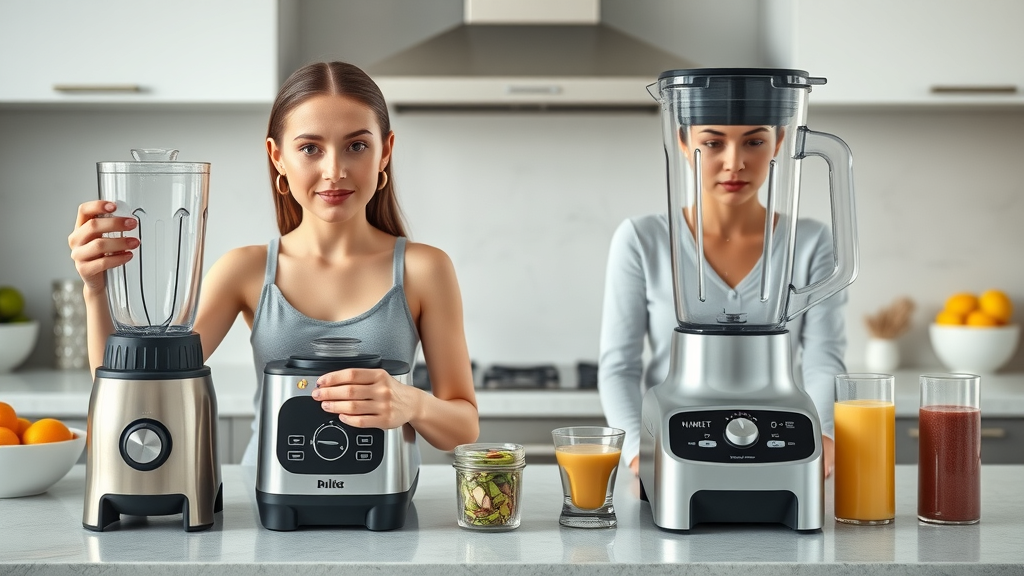
When choosing the best smoothie blender, one of the first decisions is between a personal blender and a classic table blender. Personal blenders shine for their grab-and-go convenience, compact size, and ease of use—simply blend and sip from the same blending cup. In contrast, table blenders often boast more powerful motors and larger capacities, making them ideal for family servings, frozen drink batches, and thick nut butter blends.
Popular models like the le blender, magic bullet, bullet blender, and zwilling enfinigy have raised the bar for at-home smoothie making, each catering to unique lifestyles. If you favor prepping a protein shake before your run or enjoy experimenting with leafy green smoothies, different blender types can drastically affect your drink’s smoothness and flavor extraction. Understanding these core differences puts you in control of your smoothie game.
Personal Blenders vs. Table Blenders: Making the Best Choice
Personal blenders have become synonymous with convenience—think lightweight designs and a quick blending cup that becomes your travel mug. They’re superb for single-servings and quick recipes, like banana-berry blends, and excel at speedy clean-up—just rinse or toss the cup in your dishwasher. Personal blenders like the magic bullet or zwilling enfinigy often have a small countertop footprint, perfect for tight kitchens or dorm rooms.
However, the classic table blender (also called countertop blender) offers more raw power and capacity. If you’re making green smoothies for the whole family, prepping frozen drink batches for entertaining, or blending tough ingredients like nuts and ice, a table blender is your best ally. Brands like le blender or the Vitamix blender bring maximum strength and flexibility, handling everything from food processor chores to high-volume smoothies. The choice truly comes down to your blending habits: personal convenience or batch processing.
- Personal blender benefits for on-the-go smoothies
- Table blender advantages for batch preparations
- Review: le blender, magic bullet, bullet blender, zwilling enfinigy
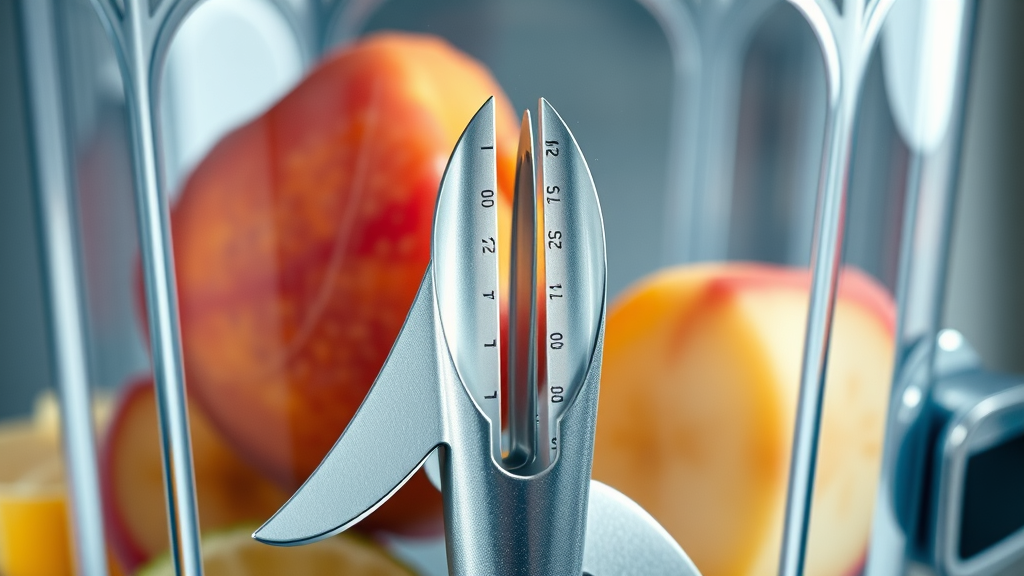
Stainless Steel Blades and Durability
The key to a smooth smoothie lies in the blades—and stainless steel is a must. Blades crafted from high-quality stainless steel maintain sharpness over time, crush frozen fruit and ice without hesitation, and resist corrosion from acidic fruits or leafy greens. Whether you’re using a personal blender or a classic table blender, sharp blades make quick work of everything from nut butter to thick smoothie bowls.
Durability goes beyond blades—look for sturdy blender jars, tight-fitting lids, and motors designed to prevent overheating. While high-powered blenders can be a bit pricier, the investment pays off with reliable performance and long-lasting results. Some top blender picks feature blade assemblies that detach for thorough cleaning, ensuring no buildup of sticky, hard-to-clean residue, making it easier to whip up a fresh green smoothie every day.
Portable Blender vs. Traditional Countertop: Which Fits Your Life?
The rise of portable blenders has unlocked new possibilities for busy lifestyles. Rechargeable and compact, these blenders travel easily for gym, office, or road trips. They’re ideal for shaking up a protein shake or blending your post-workout smoothie wherever you are. While they lack the horsepower and capacity of table blenders, portable models work wonders for quick, single servings.
If your kitchen routine involves larger gatherings or diverse recipes—think nut butter, soups, or food processor tasks—a traditional countertop blender is still the workhorse of choice. They typically offer variable speed control panels and multiple blade settings, giving you command over texture—from thick smoothies to velvety purees. Matching your blender style to your day-to-day habits ensures your investment delivers both convenience and performance.
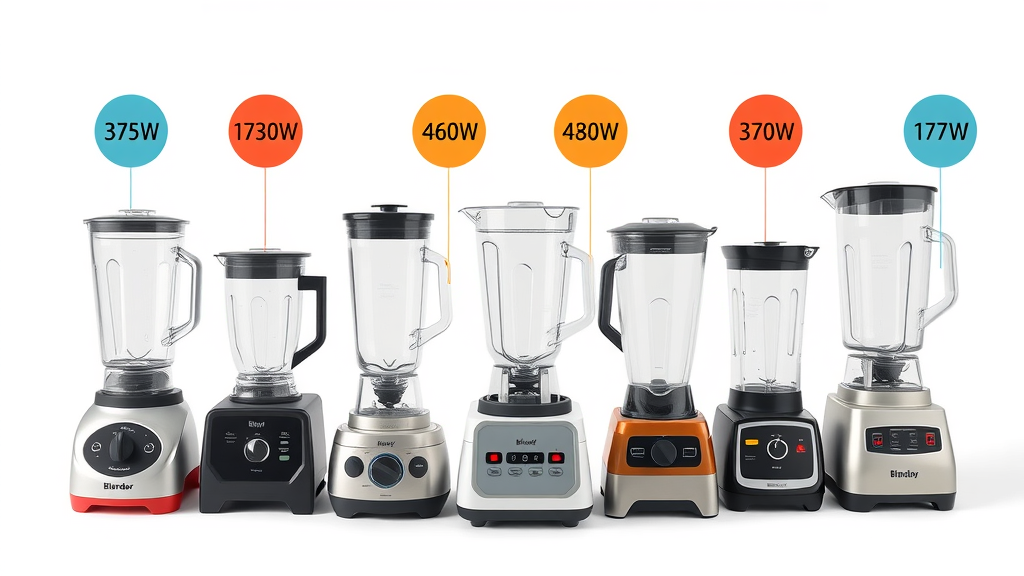
Evaluating Power: What Is the Best Wattage for a Blender for Smoothies?
Wattage is a key factor when choosing the best smoothie blender. A higher-wattage blender (typically over 600 watts) excels at crushing ice, liquefying frozen fruit, and breaking down tough fibers for thick smoothies. If you love a daily protein shake or want a food processor function, higher power equals smoother output and less risk of dull blades or an overworked motor.
For soft fruit smoothies, personal blenders with 300-600 watts can do a great job, but if greens or frozen ingredients are regulars in your recipes, opt for a machine closer to 1000 watts—think Vitamix blender or le blender. Don’t forget to match wattage with your intended use: overkill wattage means wasted energy, but underpower can leave unblended bits. Top models combine high wattage with smart design for maximum blending efficiency.
- Blender wattage explained and smoothie results
- Protein shake, ice, and leafy green considerations
- Comparison: Vitamix blender and other top pick models
| Blender Model | Wattage | Approx. Price | Key Features | Best Use |
|---|---|---|---|---|
| Magic Bullet | 250W | $40 | Personal size, easy clean, blending cup | Single-serve smoothies, soft fruits |
| Zwilling Enfinigy | 600W | $100 | Stainless steel blades, portable, compact | Small batch smoothies, protein shake, green smoothies |
| Vitamix E310 | 1380W | $350+ | Variable speed, large pitcher, food processor | Thick smoothies, nut butter, frozen drink batches |
| Le Blender | 1200W | $150 | Control panel, glass jar, ice crushing | Family batches, food processing |
| Bullet Blender Pro | 900W | $80 | Multiple blending cups, portable, ice crushing | Protein shakes, travel smoothies |
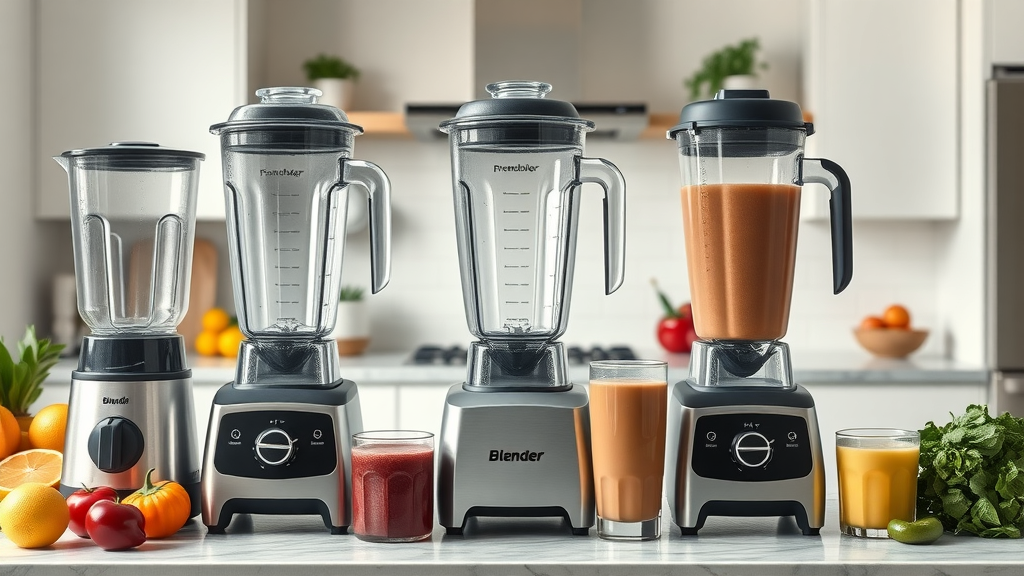
Top Pick: Our Best Smoothie Blender Recommendations
After analyzing performance, features, and real-life feedback, we’ve narrowed down our top pick blenders for every smoothie lover. Whether you prioritize portability, power, or all-in-one performance, these models have proven their worth in kitchens worldwide. Choose confidently—here’s what sets each one apart for your blending needs.
Reviewing the Best Personal Blenders for Smoothies
Personal blenders like the Magic Bullet or Zwilling Enfinigy take top spots for their space-saving designs and ready-to-go blending cups. They offer just enough wattage to puree berries or soft greens but can leave some texture with thick blends or fibrous veggies. Their ease of cleaning (often dishwasher-safe parts) and rapid operation make them a favorite for busy mornings and quick snacks.
For those looking for multipurpose strength, a Vitamix blender or Le Blender brings variable speed control for smooth, thick, or even nut butter blends, rivaling a classic food processor. When comparing models, consider not just price, but also the durability of the blades, noise level, and the simplicity of the control panel—these details separate a great job from a frustrating experience.
Top Pick – Magic Bullet Blender
The Magic Bullet is a top pick for single-serve smoothies and protein shakes. Its compact motor base and blending cup system make it ideal for on-the-go sipping. While it won’t power through heavy ice loads like high-end models, it’s perfect for soft fruits, thin green smoothies, or prep-ahead frozen drink servings. Cleanup is a breeze—just add a drop of dish soap and water, blend, and rinse.
Top Pick – Vitamix Blender for Smoothies
The Vitamix blender stands as the gold standard for thick smoothies, nut butter, and virtually any blending challenge you throw at it. Its powerful motor, variable speed controls, and durable stainless steel blades pulverize everything into a smooth smoothie. From frosty frozen fruit blends to crushing leafy greens in seconds, Vitamix delivers a professional-level experience for dedicated smoothie enthusiasts and frequent batch preparers.
Top Pick – Zwilling Enfinigy Personal Blender
The Zwilling Enfinigy is an exciting contender in the personal blender arena, combining a lightweight design with surprising blending power. It handles small green smoothie batches and shakes with ease, featuring easy-to-clean, durable components. Feedback highlights its user-friendly blend-and-go style and reliable stainless steel blades—perfect for healthy routines and tight spaces.
Breaking Down Blender Features: What to Look for When Choosing the Best Smoothie Blender
Not all smoothie blenders are created equal—knowing what to look for saves frustration and guarantees smoother results. A powerful motor is vital for thorough blending, especially with ice, frozen fruit, or thick smoothie ingredients. Models with variable speed or multiple settings allow you to control your blend’s consistency, from a chunky fruit snack to a silky green smoothie.
The material of your blender's blades—ideally stainless steel—impacts durability and performance. When it comes to containers, consider your needs: a smaller blending cup suits single servings, while a large-capacity pitcher is perfect for families. Finally, easy cleaning features (like detachable blades or dishwasher-safe cups) make blending more enjoyable, preventing stuck-on residue from turning your healthy habit into a chore.
- Motor power and speed settings for smoothie blenders
- Blade construction and material: stainless steel vs. standard
- Capacity and container design—personal blenders vs. classic blenders
- Ease of cleaning and dishwasher-safe parts
Noise, Portability, and Counter Space Considerations
Beyond the basics, practical features like noise level, portability, and the amount of space a blender takes on the counter can influence your daily experience. Some top pick blenders operate more quietly or at lower vibration levels, key for early risers or shared apartments. Personal blenders are unbeatable for compact spaces, sliding easily into a cupboard or even a work bag.
Classic table blenders need more real estate on the counter but often double as a food processor and stand mixer alternative, making them versatile for other kitchen tasks. Plan your storage and decide if you want something that stays out all the time or tucks away after use. Prioritizing these “everyday” features will help you find a smoothie blender that complements the way you live.
User Reviews, Price Points, and Where to Buy Your Next Smoothie Blender
Where should you shop for your new smoothie blender? Trusted retailers like DrinkMeHealthy.com Chesterfield, Amazon, and local appliance stores are all good bets, with a full range of price points and fast shipping. Look for brands with strong fan bases, like magic bullet and bullet blender, which consistently receive praise for packability and performance.
Don’t forget to check warranties and customer service: a good blender company will help with replacement parts, trouble-shooting, or control panel mishaps. Compare prices but focus on value—sometimes that slightly higher price tag brings you decades of reliable blending and thicker, smoother smoothies.
- Trusted retailers: DrinkMeHealthy.com Chesterfield, Amazon, and more
- Highlighting fan favorites: bullet blender and magic bullet
- Factoring in warranties and customer service
What Is the Best Smoothie Maker to Buy? Insights from Real Users
Real-user feedback can tip the scale when choosing the best smoothie blender. Many smoothie lovers rave about the Zwilling Enfinigy for its blend of power and compact design—perfect for daily green smoothie routines. The Vitamix blender leads for versatility and longevity, especially for families or those who entertain often, while the magic bullet and bullet blender consistently top the charts for personal convenience and easy cleaning.
Reviewers emphasize the importance of easy maintenance (dish soap and a quick blend can work wonders), clear control panels, and blending cup options for both portability and versatility. For the thickest smoothies or tasks like nut butter, users recommend upgrading to a Vitamix blender or high-performance table blender. In the end, the best smoothie maker is the one that aligns with your habits, space, and taste preferences.
Expert Insights: How to Choose the Best Blender for Smoothies
Blender experts at DrinkMeHealthy.com Chesterfield recommend starting with a quick habit check—do you blend daily, weekly, or just for special occasions? Match your smoothie blender to your volume and style: a powerful motor for daily thick smoothies, or a quick-batch personal blender if you’re always on the move. They note that paying more doesn’t always mean better results; it’s about the right fit for your kitchen, not the fanciest control panel or endless attachments.
Tips for maximizing both taste and efficiency include pulsing tough ingredients first, starting on lower speeds for leafy greens, and using a bit of dish soap in post-smoothie clean-up. Their number one piece of advice: Let your lifestyle lead the way, and focus on reliable construction—especially stainless steel blades and sturdy blending cups.
- Advice from Chesterfield blender experts
- Matching blender to smoothie style and frequency
- Tips for maximizing taste, value, and efficiency
"The best blender isn’t always the most expensive – it’s the one that fits your kitchen and your routine perfectly." – DrinkMeHealthy.com blender advisor
People Also Ask: Choosing the Best Smoothie Blender
How to choose the best blender for smoothies?
Start by defining what you blend most often—smoothies, protein shakes, or harder ingredients like ice and frozen fruit. Consider the size blender that matches your portions: a personal blender for single servings, or a traditional table blender for batch blending. Look for models with stainless steel blades, durable motor construction, and easy-to-clean parts. Variable speed settings and smart control panels also enhance your experience, giving you control over smoothie texture and consistency.
What is the best wattage for a blender for smoothies?
A wattage range of 600–1000 watts is ideal for most smoothie makers, balancing efficient ice crushing and leafy green blending without burning out the motor. For mostly soft fruits or simple green smoothies, personal blenders around 300–600 watts can be sufficient. For the thickest smoothie, nut butter, or frozen drink batches, go for higher wattage models like the Vitamix or Le Blender series to ensure smoother results and greater versatility.
What is the smoothest blender for smoothies?
The Vitamix blender is often named the smoothest in the game, using powerful motors and razor-sharp stainless steel blades to purée even the toughest ingredients. Users seeking a silky green smoothie or creamy protein shake consistently find that high-performance blenders with variable speed and pulsing functions achieve the best texture. For single serving, the Zwilling Enfinigy and Magic Bullet do a great job with most fruit and soft greens.
Which is the best smoothie maker to buy?
The best smoothie maker depends on your routine and budget. For overall power and versatility, the Vitamix blender stands out as a top pick. For single-serve simplicity, the Magic Bullet and Zwilling Enfinigy rank highest in user satisfaction. And for affordable batch blending, Le Blender offers great features without overwhelming your counter space. Always look for models known for reliability, blending power, and positive real-user reviews.
FAQs: Everything Else About Choosing the Best Smoothie Blender
-
What makes a personal blender better for single servings?
Personal blenders are designed for quick, on-the-go blending in a compact blending cup. Simply add ingredients, blend, and sip straight from the same cup—no pouring, no mess. They’re lighter and easier to stow, making them perfect for busy lifestyles and small kitchens.
-
Are smoothie blenders suitable for protein shakes and food processing?
Many smoothie blenders, especially those with higher wattage, handle protein shakes with ease. Some models double as food processors for softer foods, but for heavier-duty mixing (like dough or nut butter), a table blender or dedicated food processor is more robust.
-
Is investing in a high-end blender like Vitamix worth it?
If you make smoothies daily or value ultra-smooth results, investing in a Vitamix blender pays off through reliability, power, and consistent texture. While upfront costs are higher, their performance and durability offer long-term savings and satisfaction.
-
How can I extend the lifespan of my smoothie blender?
Always follow manufacturer instructions, avoid overfilling, and use the right speed settings for each blend. Clean immediately after each use, paying special attention to the blades. Periodically check for worn parts and replace as needed to keep your smoothie blender running smoothly.
Key Takeaways: Making the Smart Choice When Choosing the Best Smoothie Blender
- Define your smoothie habits before choosing the best smoothie blender
- Compare personal blenders and traditional table blenders for your needs
- Review blender wattage and blade material for smooth blending results
- Rely on trusted reviews, price comparisons, and expert input
Conclusion: Transform Your Smoothie Game by Choosing the Best Smoothie Blender
Don’t just blend—elevate your smoothies by choosing the best blender for your lifestyle. Start with our recommendations and enjoy a smoother tomorrow!
Ready to see the blenders in action and pick your favorite? Watch the Video here to see expert tips and real-life demos that make choosing the best smoothie blender even easier!


Write A Comment