
Did you know? A well-designed bathroom can boost your daily comfort and even your home’s value—but most homes still get bathroom layout basics wrong, leaving precious square footage wasted and everyday tasks awkward
Why From Blueprint to Bathtub: The Masterclass in Bathroom Ergonomics Matters Now
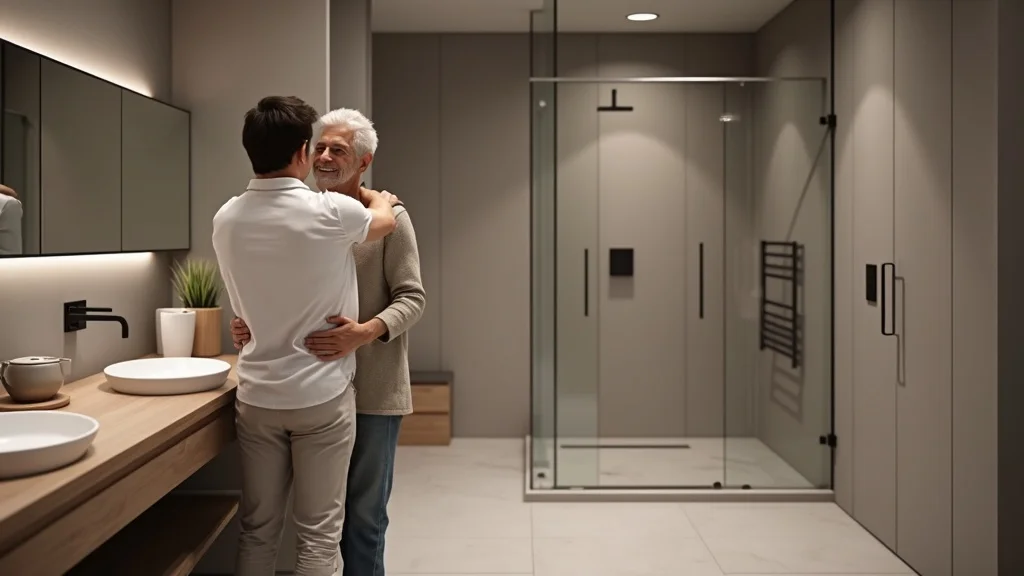
In today’s homes, the bathroom is more than a functional area—it’s a sanctuary for relaxation, daily routines, and self-care. Yet, many master baths remain stuck with outdated layouts, awkward door swings, and poorly planned wet and dry zones. With home wellness gaining centre stage, there’s never been a better time to rethink your bathroom design.
At Plumbrite, we believe that how your bathroom flows isn’t just an afterthought; it’s central to your everyday comfort and functionality. The right bathroom layout ensures enough clear floor space for movement, logical placement of fixtures, and a seamless transition between wet and dry areas. By adopting ergonomic measurements and universal design elements, you not only upgrade your bathing experience but also increase your property’s long-term value. Our approach isn’t about trendy finishes alone—it’s about master bath layouts that put people first.
“The right bathroom layout doesn’t just look good—it transforms how you live.” — Plumbrite Design Team

What You’ll Learn: Mapping Your Path From Blueprint to Bathtub
- Actionable rules for smart bathroom layout
- Ergonomics essentials for comfort and accessibility
- Common pitfalls in bathroom remodels and how to avoid them
- How to choose wet and dry zones in your master bath
- High-end finishings and tanking for waterproof elegance
- Plumbrite’s step-by-step renovation process
Understanding Ergonomics in Bathroom Design
Ergonomics is the science of designing spaces for human use, making your bathroom comfortable, safe, and easy to navigate—especially in a master bath where convenience and comfort blend. In bathroom design, ergonomics ensures every fixture and surface is placed for natural movements, whether it’s a walk-in shower, the height of a vanity, or the reach to a grab bar for those with limited mobility.
A focus on ergonomic design means thinking beyond looks; it’s about function and flow. How you open a door, move across tiles, or transition from the vanity area to the shower area can make or break your daily experience. Incorporate adaptable elements, such as shower seats, well-placed grab bars, and slip-resistant flooring. Everyone benefits—from children to wheelchair users—when spaces reflect their users' evolving needs.
The Core Principles of Ergonomically-Sound Bathroom Layout
Creating a master bath that works for everyone means applying a few essential principles. First, plan for proper bathroom layout flow, ensuring each functional area is logically positioned—vanity area, shower area, toilet—with enough clear floor space in between. Second, use wet and dry zones to prevent slips and water damage by keeping bathing and sink areas apart from storage and changing spaces.
Third, consider essential ergonomic measurements: fixture heights, reach ranges, and space clearances. For example, a minimum clear space of 76 cm (30 in) in front of the toilet and shower ensures enough room for movement. Install access features for all ages and mobility levels, from children to older adults, urging for universal design. When done right, your bathroom is not just attractive—it makes life smoother for everyone, every day.
- Proper bathroom layout flow
- Leveraging wet and dry zones
- Essential ergonomic measurements
- Access for all ages and mobility levels
| Feature | Minimum Space Clearance | Fixture Height | Door Swing Recommendation |
|---|---|---|---|
| Toilet | 76 cm (30 in) from front edge to opposite wall | 43–48 cm (17–19 in) seat height | Outward or sliding door preferred for ease of access |
| Vanity/Sink | 76–91 cm (30–36 in) clear floor space in front | 81–89 cm (32–35 in) top of basin | Outward swing or pocket door to maximize space |
| Shower Area | 91–109 cm (36–43 in) entry width, 152 cm (60 in) depth | Wall controls at 106–122 cm (42–48 in) above floor | Glass panels or doorless entry for accessibility |
From Blueprint to Bathtub: The Masterclass in Bathroom Layout
Every great bathroom starts with a blueprint. At Plumbrite, our expert team collaborates with you to create a space where every centimetre serves a purpose and every detail is engineered for everyday comfort. We address not just the look of your master bath, but how it functions throughout your family’s routine.
A masterclass in bathroom layout means defining zones, right-sizing every fixture, and ensuring unimpeded flow. We analyse how you use your space—where you place towels, toiletries, and even the path you walk to the shower. From plumbing and tanking plans to the finishing touches, this holistic process prevents common mistakes like wasted corners and awkward traffic patterns. By integrating smart zoning and seamless transitions, your bathroom design truly becomes a showcase of form meeting function.

Planning the Ideal Bathroom Layout: Rules and Guidelines
Begin with the golden rule for bathroom layouts: maintain logical flow, provide appropriate clearances, and define wet and dry zones to avoid water tracking into storage or living areas. Apply the rule of thumb for bathroom remodel—set a realistic budget, phase your renovation intelligently, and allow time for each stage from demolition to finishing touches. And avoid classic blunders: never ignore thorough tanking (waterproofing), avoid cramped corners, and don’t let function serve as an afterthought to design.
Ensure fixture placement (from the toilet to the vanity area and shower controls) suits your daily habits. Avoid wasted space by using smart storage, choosing pocket or outward swinging doors for tight areas, and selecting multi-purpose fixtures. Planning your master bath with these guidelines saves stress, cost, and future regrets.
- Golden rule for bathroom layouts (clearances, zones, logical flow)
- Rule of thumb for bathroom remodel (budget, phasing, timeline)
- Common mistakes—ignoring tanking, poor wet/dry separation, wasted space
Video: How Plumbrite Converts Blueprints into Stunning Master Baths
Watch a transformational journey from empty shell to showstopper master bath! This professionally produced montage features: before-and-after shots, time-lapse sequences of layout changes, and a Plumbrite project manager guiding clients through blueprint details. Narration walks you through how thoughtful planning, expert waterproofing, and high-end finishings come together. Experience the Plumbrite difference in every detail.
[Video Placeholder]Wet and Dry: Mastering Bathroom Zones
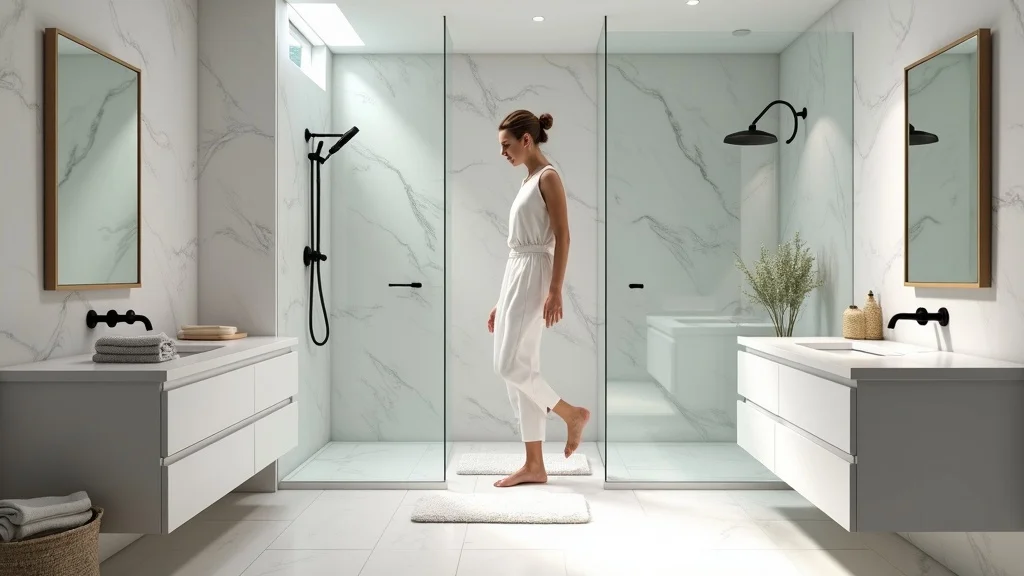
One of the trademarks of expert bathroom layout is zoning—separating wet (bathing and shower area) from dry areas (vanity, storage, and entry). This division not only preserves materials and prevents slippery mishaps but also simplifies cleaning and preserves your bathroom’s beauty over time. Master bath design at Plumbrite always factors in proper drainage slopes, visible transitions in flooring, and thoughtful placement of glass panels or partitions.
A clear boundary between wet and dry improves daily routine and maximises comfort and safety. Think: stepping from a dry vanity area across to a glass-enclosed shower, with soft towels close at hand, all without tracking water across the whole master bath. Planned properly, these details mean your elegant new space will endure daily use with ease.
High-Impact Waterproofing: Tanking Your Master Bath The Right Way
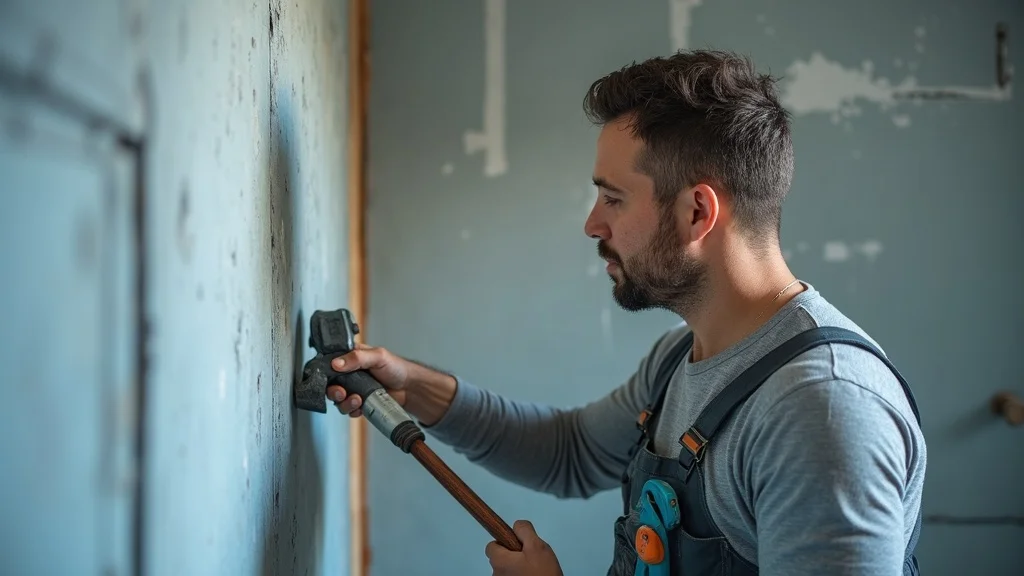
But when and where should you tank? All wet zones (showers, behind baths, around the sink area) must be thoroughly waterproofed, with membrane coverage up the walls and at all corners, to prevent hidden “sleeper” leaks that destroy finishes and cause costly repairs
Picking the right waterproofing system is as crucial as the tile you see or the taps you touch. Poor tanking is the root of most bathroom renovation disasters, so investing in proven, durable solutions (like advanced liquid-applied membranes or tanking boards) is a must. With meticulous prep and uncompromising quality control, Plumbrite ensures your master bath withstands decades of steamy showers and busy routines.
- When and where to tank in bathroom design
- Preventing leaks: Plumbrite’s proprietary approach
- Product selection for durability
“Waterproofing isn’t a finishing touch—it’s a foundation.” — Senior Plumbrite Engineer
Selecting Fixtures and Features: From Ergonomics to Elegance
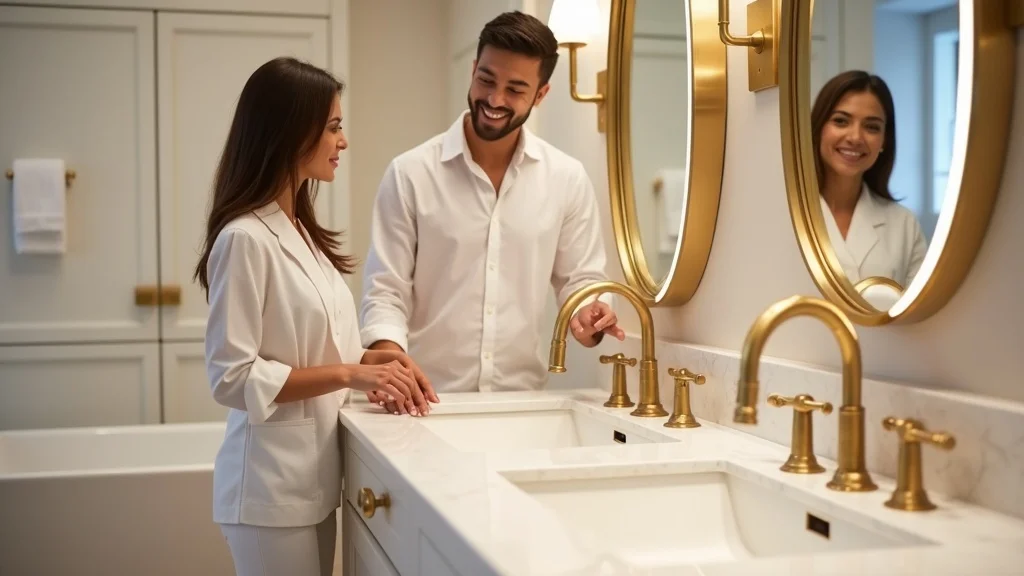
The right fixtures blend form, function, and comfort. Start with a bathtub with ergonomic lumbar support—it encourages relaxation and relieves back strain. Opt for a walk-in shower with grab rails for enhanced safety, and consider a height-adjustable vanity area to accommodate all users, including those using a wheelchair or children. Upgrade to touchless taps to combine ease of use with superior hygiene.
Careful selection of fixtures defines the personality of your master bath, but never at the expense of ergonomic design. Choose grab bars with elegant finishes, shower controls within easy reach, and install vanities at a height that suits everyone in your household. Each detail, from lighting to mirror placement, can make your daily routine more enjoyable—and far more beautiful.
- Bathtub with ergonomic lumbar support
- Walk-in shower with grab rails
- Height-adjustable vanities
- Touchless taps for hygiene
Optimising Accessibility in From Blueprint to Bathtub: The Masterclass in Bathroom Ergonomics
True luxury means everyone can enjoy the space, regardless of age or ability. Plumbrite excels at using universal design to remove barriers—think wheel-in showers with no steps, wider door swings for wheelchair users, and anti-slip flooring throughout. Install grab bars at key points, choose lever taps, and position toilets and basins at accessible heights.
Accessibility is about more than compliance; it’s about dignity, ease of access, and forward-thinking. Even homes without immediate need benefit, as ergonomic features future-proof your master bath—a wise investment for both resale and peace of mind.

Video Tour: Walk-Through of a Real Master Bathroom Makeover
Curious how transformational master bath ergonomics looks in real life? This video tour shows a step-by-step renovation, from the first consultation to a stylish, universally accessible finished space
[Video Placeholder]People Also Ask: Essential Bathroom Ergonomics Questions
What is the golden rule for bathroom layouts?
The golden rule for bathroom layouts is to ensure logical flow by positioning fixtures so each serves its function without crowding. Place the toilet, sink area, and shower or tub in a way that allows for easy movement and maintains clear floor space. Lean into proper separation of wet and dry zones, use outward or pocket doors to maximize useable space, and remember: real comfort comes from ensuring enough distance between fixtures and adequate access at every point.
What is the rule of thumb for bathroom remodel?
The rule of thumb for any bathroom remodel is to plan and phase each task—demolition, plumbing, waterproofing, tiling, and finishing—around a clear budget and generous timeline. Never skimp on tanking or waterproofing. Anticipate at least one week per functional area in a full master bath remodel, and always allow extra days for cure times and inspection. Prioritize daily usability with thoughtful fixture placement and aim for a layout that suits both current and future needs.
What are common bathroom layout mistakes?
Common missteps include crowding fixtures without enough minimum clearances, forgetting to separate wet and dry zones, poorly positioned door swings that block access, and neglecting proper drainage slopes in the shower area. Skipping comprehensive tanking, under-lighting the vanity, or placing towel storage outside easy reach can all detract from your bathing experience and the space’s longevity.
What are the ergonomic measurements for a bathroom?
Key ergonomic measurements include maintaining at least 76 cm (30 in) clearance in front of all fixtures, sinks at 81–89 cm (32–35 in) high, toilets at 43–48 cm (17–19 in) seat height, and walk-in showers wide enough (at least 91 cm/36 in) for accessibility. Place grab bars between 85–91 cm (33–36 in) from the floor and ensure turn space for wheelchair users where needed. Always check clearances for door swings and between fixtures—comfortable movement is paramount.
From Blueprint to Bathtub: A Step-by-Step Master Bath Design Journey
- Consultation and needs assessment — Plumbrite’s designers sit with you to understand your family’s unique routines and space constraints.
- Concept design with flow and ergonomic benchmarks — Precise space planning, mapping optimal wet and dry zones, fixture heights and access clearances.
- Plumbing and waterproofing plans (tanking) — Ensure robust tanking for all wet zones, integrating risers and drains for peace of mind.
- Fixture and finish selection — Choose high-end, ergonomic fixtures and elegant, durable finishes to match your taste and practical needs.
- Renovation and quality control — Skilled trades complete installation under rigorous oversight, ensuring every detail exceeds expectations.
- Final styling and client walkthrough — Final touches, deep clean, and a guided walkthrough to ensure your satisfaction with every aspect of your new master bath.
Avoiding Bathroom Design Mistakes: Plumbrite’s Remedies
Plumbrite’s process is designed to fix common layout mistakes and improve every master bath, no matter the starting point. We correct cramped layouts by rethinking fixture placement and optimizing clear floor space. For homes with misplaced wet and dry zones, we add contemporary glass panels and adjust floor gradients to direct water where it belongs. In both compact and luxury spaces, our enhancements—from clever shelving to wall-mounted vanities—bring new function and flair.
- Addressing common layout mistakes
- Wet and dry zone misplacement fixes
- Clever enhancements for small and large master baths alike
Expert Tips and Must-Have Lists for Master Bath Layouts
- Top 5 ergonomic upgrades for a master bath: walk-in shower, handheld shower head, heated towel rails, non-slip floor tiles, and smart lighting
- Materials that marry function and luxury: large-format porcelain tiles, quartz or marble countertops, soft-close cabinetry, and frameless glass shower partitions
- Smart tech to consider: touchless taps, underfloor heating, demisting mirrors, and occupancy-sensor lighting
FAQs: From Blueprint to Bathtub – Your Masterclass in Bathroom Ergonomics
-
How long does a bathroom renovation take?
On average, a full master bath renovation takes 2–4 weeks, depending on the project’s scope, lead times for materials, and complexity of plumbing or tanking work. Always allow for unexpected delays—especially for custom finishes or structural changes. -
Is it possible to upgrade ergonomics in a small bathroom?
Absolutely! Even the smallest spaces benefit from clever ergonomic upgrades, such as corner sinks, wall-hung toilets, and sliding doors. Focus on maximizing floor space and wet/dry separation. -
What are the most durable waterproofing materials for the master bath?
Advanced liquid-applied membranes, cementitious tanking systems, and waterproof boards (such as Wedi or Schluter) are industry standards for lasting performance behind tiles and panels. -
Does ergonomic design add value to my property?
Yes—homes with thoughtful bathroom design, logical layouts, and universal access fetch higher resale values and attract more buyers. Ergonomics is a wise investment for the long term. -
Do I need planning permission for a master bath remodel?
Typically, interior bathroom remodels don’t need planning permission unless you are altering plumbing significantly, extending your home, or renovating a listed property. Always check local regs before starting.
Key Takeaways: From Blueprint to Bathtub—Master Bath Ergonomics
- Space planning and tanking are vital
- Ergonomics future-proofs your bathroom
- Every choice from layout to finish matters
- Plumbrite blends design vision and installation mastery
Elevate Your Space With Plumbrite’s Design-Led Masterclass
Ready to move from blueprint to the bathtub in your own master bath? Call Plumbrite today on 07933830316 or email: sales@plumbrite


Write A Comment