

Imagine investing time and money repainting your home’s exterior, only to watch it peel, fade, or bubble within a year. Exterior painting prep is the unsung hero that determines whether your paint job stands the test of time or becomes a costly redo. If you want your home to boast that flawless, lasting curb appeal, mastering the process before you lift a brush is essential. This guide reveals the methods and secrets trusted by Silicon Valley’s exterior painting experts.
Why Proper Exterior Painting Prep Is Critical
When it comes to exterior painting, the prep work often makes or breaks the final outcome. Quality exterior paint prep isn’t just about neatness—it’s the key to helping your fresh paint adhere, resist weather, and look vibrant for years. Rushing, skipping, or underestimating prep leads to avoidable headaches like blistering, peeling paint, or premature fading, undermining your investment and reducing your house’s market value. Proper surface preparation ensures a good paint job that not only improves curb appeal but also acts as the first defense against moisture intrusion and structural damage.
Removes contaminants for a clean surface so paint can adhere securely
Prepares bare wood or bare surfaces to accept primer and finish coats
Addresses loose paint, cracks, and damaged areas before painting exterior surfaces
Helps prevent peeling paint, fading, or bubbling by stopping issues at the source
“Good exterior painting prep is the foundation for a finish that lasts. Skipping steps can lead to costly repairs and disappointment.” — Painting Pros Expert
Common Exterior Painting Issues from Improper Prep
Overlooking or rushing paint prep can set off a cascade of failures in your paint job. Typical problems include peeling exterior paint soon after application, unsightly streaks, or even structural complications like moisture intrusion. Not treating bare wood and not removing loose paint can cause the new finish to lift or even allow water to seep into your siding, which might lead to mold or wood rot. In the end, improper prep means wasted resources—both in terms of money spent and hours invested in your DIY project.
Peeling exterior paint within months due to poor surface adhesion
Premature fading from inadequate removal of surface grime or chalky residue
Moisture intrusion through unsealed cracks or faulty caulking
Wasted resources—repainting sooner than planned or needing costly repairs
What You'll Learn About Exterior Painting Prep
This comprehensive guide arms you with everything you need to know for quality exterior paint results. Whether you’re hiring professionals like Painting Pros or tackling a DIY project, mastering these steps is the fastest route to a standout, durable finish.
The complete exterior painting prep process, from the initial pressure wash to final inspection
Pro-tips for dealing with loose paint and prepping bare wood or damaged areas for painting exterior surfaces
Practical ways to avoid the most common—and most costly—mistakes homeowners make on exterior paint prep
Understanding the Exterior Painting Prep Process
To achieve a good paint job that lasts, understanding the science and sequence of exterior paint prep is crucial. Cutting corners jeopardizes paint adhesion and shortens the life of your investment. Instead, approach prep as a series of deliberate steps—each critical for a quality finish. The reward? Flawless color, chalk-free surfaces, and a protected home that looks great for years. Next, we break down the assessment, the must-have tools, and the key differences when prepping various surfaces.
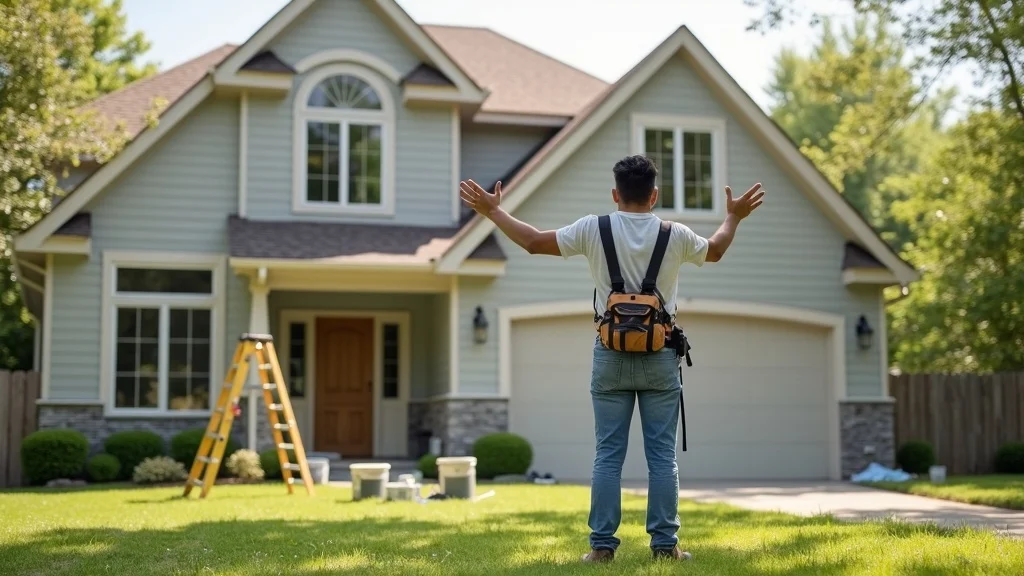
Assessing Your Home Before Exterior Painting
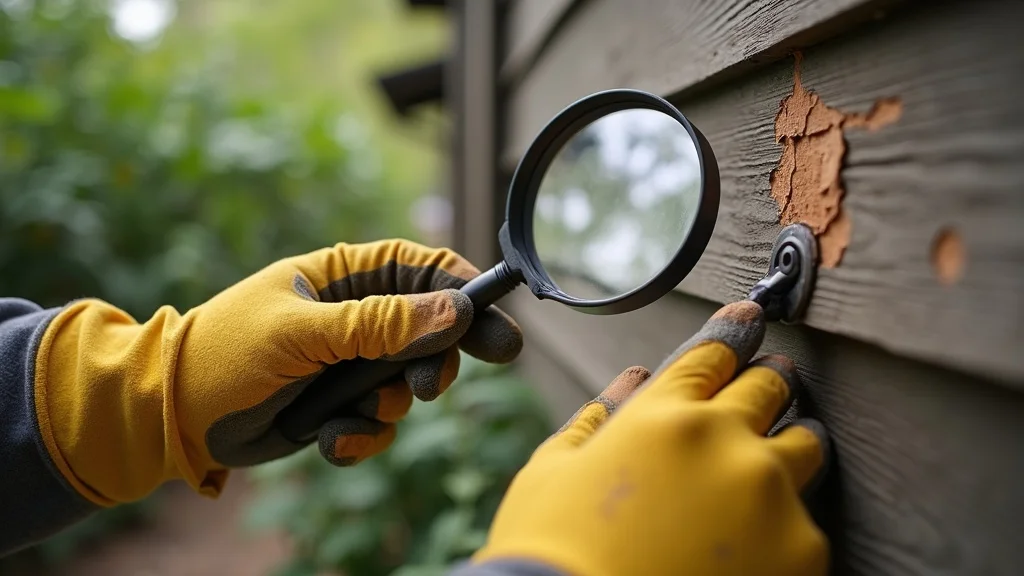
No two exteriors are exactly alike, so proper assessment before painting your home is non-negotiable. Start by walking around your house with a critical eye, looking for loose paint, stained areas, chalkiness, and signs of moisture. Use an inspection checklist to address everything: siding condition, trim, eaves, window sills, and even foundation. Identify bare wood, damaged areas, or rot that need special attention.
Inspection checklist for thorough exterior paint prep
Identifying and marking areas with loose paint, failing caulk, or water damage
Essential Supplies and Equipment for Exterior Painting Prep
A successful exterior painting prep starts with gathering the right supplies. For safety, always use gloves, protective eyewear, and masks, especially when scraping or sanding. Core tools include scrapers, wire brushes for stubborn spots, sanding blocks, or power sanders for larger jobs. Invest in a quality pressure washer—vital for removing dirt, mildew, and old paint flakes. Stock up on primers: choose between oil-based for bare wood or stained areas and latex or acrylic latex primers for most siding.
Safety gear—respirators, gloves, and eye protection
Scrapers and sanders for smooth surfaces
Pressure wash equipment and garden hose for safe cleaning
Appropriate primers (oil or latex) for different surfaces
Exterior Painting Prep Supply Comparison by Surface |
|||
Surface |
Minimum Prep Supplies |
Recommended Primer |
Pro Prep Tip |
|---|---|---|---|
Wood Siding |
Scraper, sander, pressure washer |
Oil-based for bare wood; latex for old finishes |
Spot-prime all knots and bare areas |
Stucco |
Wire brush, patching compound, power washer |
High-adhesion acrylic latex |
Seal all cracks before painting |
Fiber Cement |
Soft brush, gentle power wash |
Factory-recommended latex primer |
Don’t saturate seams with water |
Metal |
Degreaser, sandpaper, rust inhibitor |
Rust-inhibitive primer (oil or latex) |
Remove flaking rust before priming |
Step-by-Step Exterior Painting Prep Instructions
Now that you’ve got your supplies and an accurate assessment, it’s time to roll up your sleeves. Each step in this orderly process addresses a core threat to paint adhesion and your finished exterior appearance. By following these methods used by professional painting crews, you’ll maximize the life and visual impact of your exterior paint.
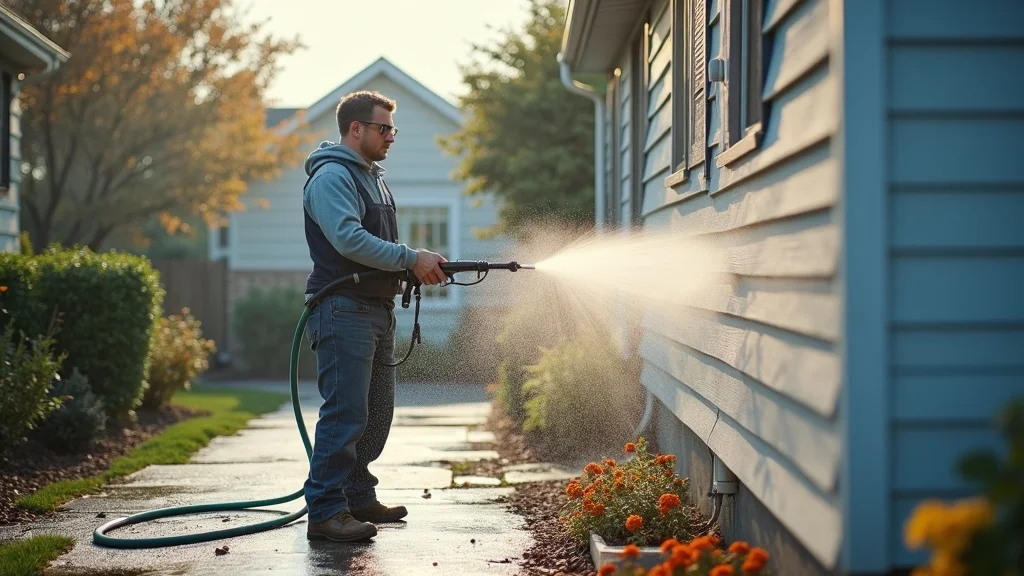
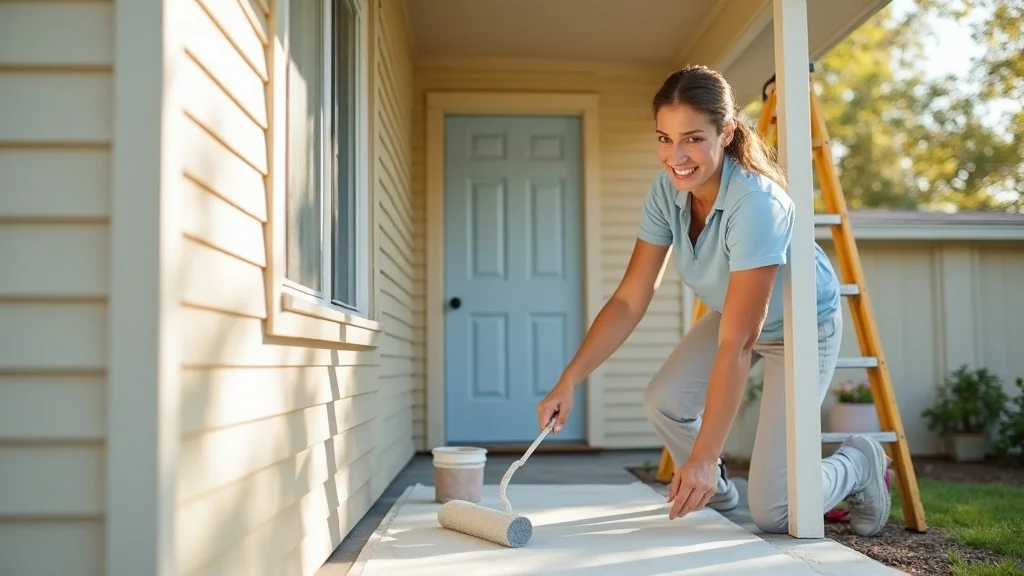
Pressure Wash—The First Step in Exterior Paint Prep
Every great exterior paint job starts with a clean, debris-free surface. Pressure washing removes dirt, mold, cobwebs, and old paint chips that hinder proper adhesion. Always opt for a safe cleaning agent if your home has mildew, but ensure it’s suitable for your siding material. Select the right pressure setting: softer for bare wood or delicate trims, stronger for durable masonry or heavily soiled areas. Avoid damaging surfaces by using a fan-tip nozzle and keeping the pressure washer moving at a steady speed. Allow the washed surface to fully dry before painting.
Why pressure wash before starting exterior painting?
How to select the correct pressure washer or nozzle setting based on surface type?
Tackling Loose Paint and Bare Wood
Once your house is clean and dry, deal with all loose paint. Use a paint scraper and sanding block to remove flaking and peeling layers, working back to a solid edge where paint firmly adheres. Treating bare wood requires extra diligence—sand smooth, dust off, and prime immediately to prevent moisture absorption, which can cause swelling, warping, or premature paint failure. Never paint directly over chipped edges or bare surfaces; clean, feather, and seal every exposed spot for a quality exterior result.
Scraping and sanding to remove loose paint for maximum adhesion
Priming all bare wood promptly to avoid weathering and moisture damage
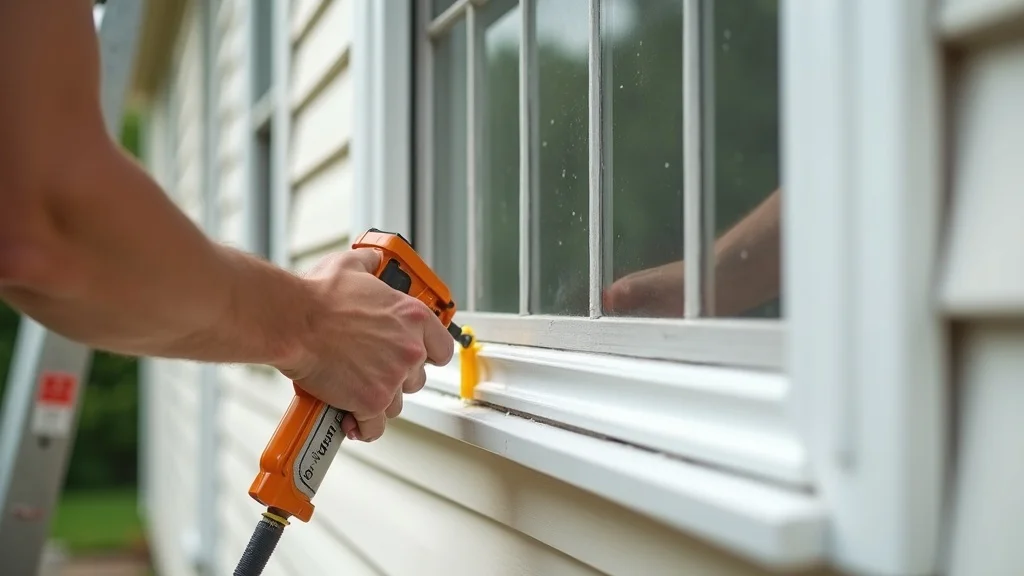
Surface Repairs: Filling, Caulking, and Patching
With a clean and solid surface exposed, it’s crucial to repair defects before applying any exterior paint. Fill gaps or holes in siding, trim, or stucco using exterior-grade patching compounds for a uniform look. Caulk all joints, windows, and seams with flexible, paintable caulk—this not only improves your home’s appearance but also seals out water and drafts, protecting against moisture intrusion. Pay special attention to corners, wood-to-masonry joints, and previously patched spots, as these often require re-caulking or extra filler for a truly quality finish.
Properly fill all cracks and crevices to achieve a smooth painted surface
Importance of thorough caulking for energy efficiency and protection when prepping for exterior painting
Priming: Don’t Paint Exterior without It
Primer acts as the critical link between your prepared surface and the fresh coats of exterior paint. It ensures even coverage, promotes paint adhesion, and seals repairs, patches, and bare wood. Skipping primer—especially on weathered or highly-absorbent surfaces—risks all-purpose paint soaking in unevenly or peeling prematurely. Select oil-based primer for bare wood and areas with severe stains, and high-quality latex or acrylic latex primer for most siding materials and previously painted areas.
When priming is an absolute must for a long-lasting exterior paint job
How to select the ideal primer based on surface material and existing paint type
Expert Tips for Successful Exterior Painting Prep
“Attention to detail during exterior painting prep will make your exterior paint job stand out, while protecting your investment for years.” — Senior Painter, Painting Pros
Timing your project for best results: Aim to start exterior painting prep and painting when temperatures are mild (generally between 50–85°F), humidity is moderate, and rainfall isn’t expected for at least 48 hours. Avoid late-fall or rainy-day painting—fluctuating conditions can ruin even the best prep.
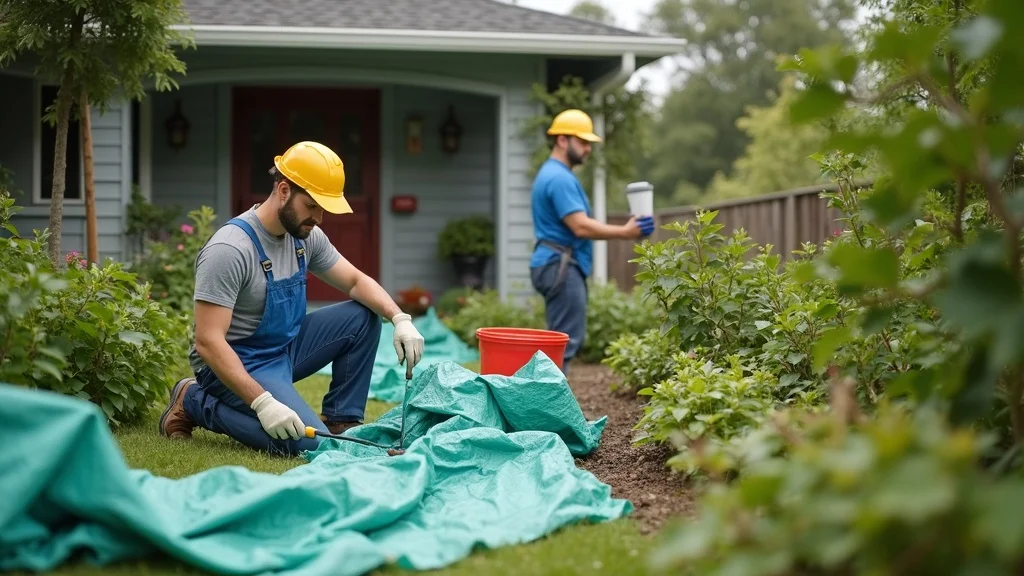
Protecting plants and landscaping: Safeguard your shrubs, lawn, and plant beds by covering them with breathable tarps or plastic sheeting. Tape back branches and place drop cloths to catch falling paint chips and debris.
Addressing mildew and environmental concerns: Use a safe cleaning agent or mild bleach solution to completely remove mildew before painting–applying new exterior paint over active mold can cause it to reappear quickly.
People Also Ask About Exterior Painting Prep
Is October too late to paint outside?
While it’s possible to paint in October, you need to watch the forecast closely. Exterior painting prep and paint application require temperatures consistently above 50°F during both day and night for proper drying. Shorter days and increased dew can complicate projects, so schedule early in the month or wait for a warm, dry spell. If temperatures drop below recommended ranges, paint may not cure properly—resulting in dull, cracked, or peeling exterior paint.
What to do before painting the exterior?
Proper exterior painting prep involves several non-negotiable steps. First, remove or cover outdoor fixtures and landscaping to prevent accidental damage. Next, pressure wash all surfaces thoroughly and let them dry completely. Scrape and sand away loose paint before making any needed repairs to damaged areas. Prime all bare wood and filled repairs, then caulk cracks and fill gaps. Only after all prep is completed—use a detailed checklist—should you start applying exterior paint.
Can I just paint over old exterior paint?
In some cases, you can paint exterior walls without stripping all old paint, but loose paint and poorly bonded layers must be removed, and bare surfaces need to be primed. Painting directly over chalky, damaged, or flaking paint risks new paint failing quickly. For maximum paint adhesion and a quality finish, always follow professional exterior paint prep methods—especially when repainting over older coatings.
Do you cut in twice when painting?
“Cutting in” refers to painting the edges and corners before using a roller on large areas. If you’re working with highly absorbent or patched surfaces, you may need to cut in twice to ensure even coverage, especially after a thorough prep. Quality exterior paint and a well-prepped surface reduce the number of coats and help the finish blend seamlessly.
Exterior Painting Prep Checklist
To streamline your paint prep and ensure nothing gets overlooked, follow this professional-grade checklist:
Remove or protect fixtures and landscaping from paint splatter or debris
Pressure wash all surfaces and allow to dry before painting
Repair or replace damaged areas in siding, trim, or stucco
Scrape and sand any loose paint
Prime all bare wood and new repairs
Fill gaps and caulk joints/seams thoroughly
Conduct a final walkthrough to spot missed areas before applying exterior paint
FAQs About Exterior Painting Prep
How long should I wait after pressure washing to apply exterior paint?
Allow at least 24–48 hours for surfaces to thoroughly dry after pressure washing. Painting too soon on a damp surface will trap moisture, weakening paint adhesion and risking blistering or mildew growth.When should I use oil vs. latex primer on bare wood?
Use oil-based primer for sealing bare wood or stains, as it blocks tannin bleed and improves paint adhesion. Latex primer works for most other surfaces, dries faster, and offers flexibility for changes in wood.Can I skip priming if using a paint-and-primer in one?
While paint-and-primer-in-one can work for repaints on surfaces in good condition, it’s not recommended for bare wood, patched spots, or high-wear areas. Always use a standalone primer for these areas to ensure long-lasting results.
Key Takeaways: Exterior Painting Prep Secrets from 50+ Years of Experience
Every great exterior paint job begins with detailed paint prep—it’s non-negotiable.
Addressing loose paint, bare wood, and repairs up front prevents future failures in your exterior painting project.
If you’re not confident about any stage of prep, consult an expert like Painting Pros for advice or service.
Ready for a Flawless Finish?
Conclusion: Solid exterior painting prep is your safeguard against premature fading, peeling, and wasted effort—guaranteeing results you’ll be proud of for years to come.
Call The Painting Pros at (408) 868-2662


Write A Comment